
A Practical Maker’s Guide by Infinite Builds
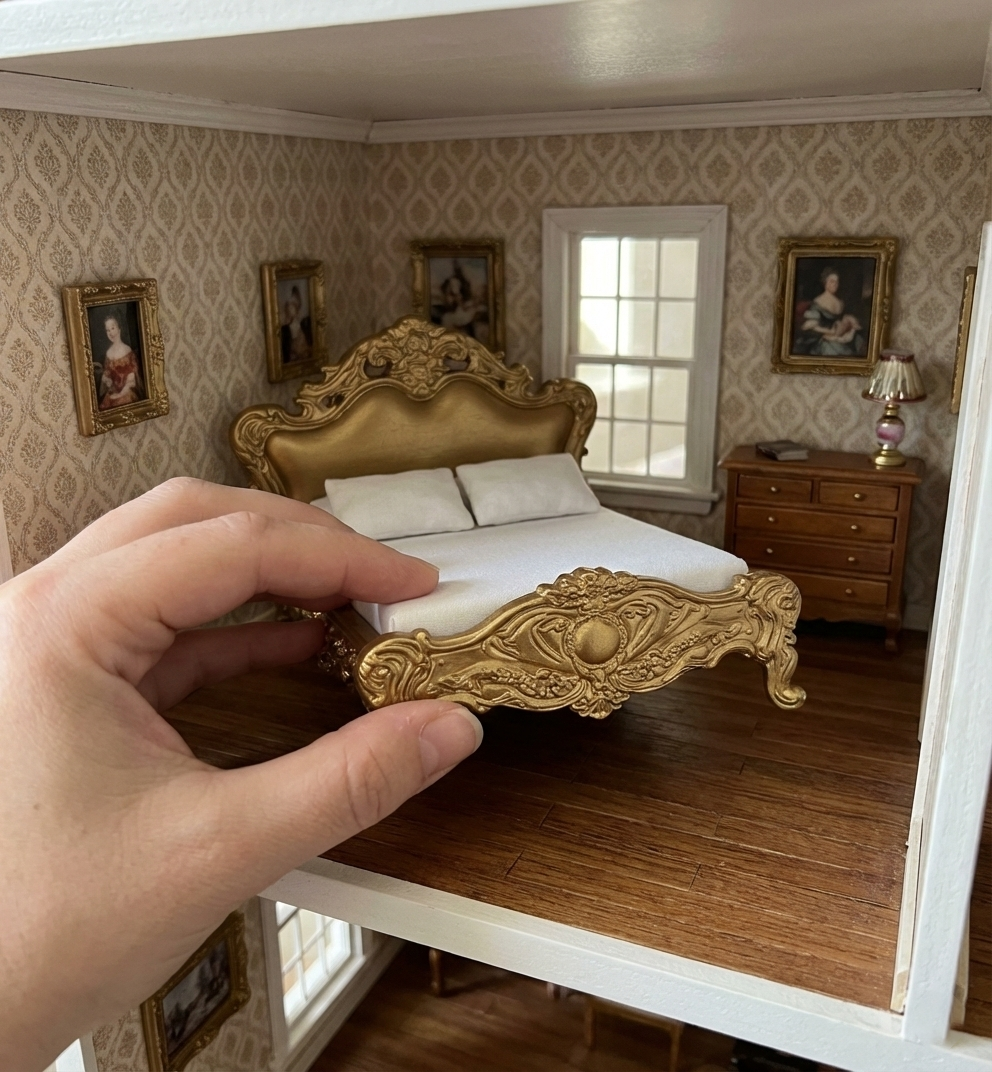
3D printing miniatures has transformed how makers design, prototype, and produce small-scale models. Whether you're building dollhouse furniture, street dioramas, or custom display pieces, understanding the fundamentals of 3D printing at miniature scale makes a major difference in quality.
At Infinite Builds, we design and print miniatures daily using CAD software and multiple desktop 3D printers. This guide shares practical knowledge based on real miniature production workflows.
1. What Counts as a 3D Printed Miniature?
A 3D printed miniature is typically:
-
Small-scale model (1:6, 1:12, 1:24, 1:64, etc.)
-
Printed using FDM or resin printers
-
Designed digitally in CAD software
-
Used for dollhouses, dioramas, display scenes, or collectibles
Miniatures require higher precision than larger prints because small errors become very noticeable.
2. Choosing the Right Printing Technology
FDM (Filament Printing)


Best for:
-
Furniture
-
Structural pieces
-
DIY kits
-
Large miniatures
Pros:
-
Strong parts
-
Affordable materials
-
Easier post-processing
Limitations:
-
Visible layer lines
-
Less fine detail compared to resin
Resin Printing (SLA / MSLA)


Best for:
-
Tiny props
-
Figurines
-
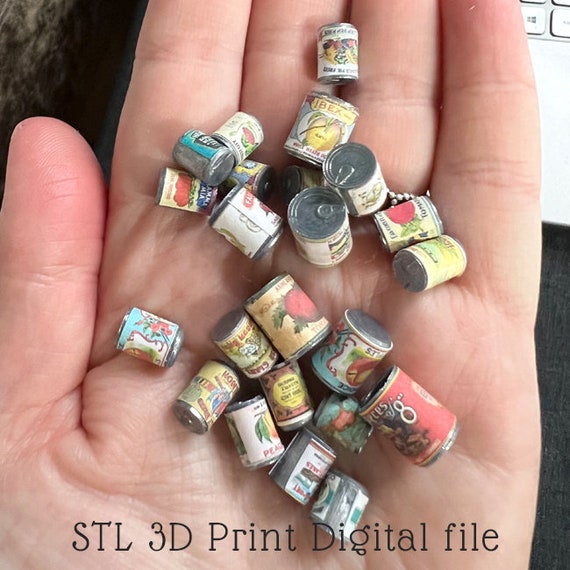
Decorative food items
-
High-detail parts
Pros:
-
Extremely fine detail
-
Smooth surface
-
Ideal for tiny textures
Limitations:
-
More post-processing
-
Resin handling safety required
3. Understanding Scale in Miniatures
Scale determines realism. Common miniature scales:
-
1:12 scale – Dollhouse standard
-
1:24 scale – Half scale
-
1:64 scale – Small diorama / vehicle scenes
When designing:
-
Always convert real-world dimensions to scale before modeling.
-
Use consistent unit systems (mm recommended).
-
Double-check wall thickness — too thin can cause fragile prints.
Example:
If a real chair is 90 cm tall:
-
1:12 scale → 7.5 cm
-
1:24 scale → 3.75 cm
Precision is critical in miniature modeling.
4. Recommended Print Settings for Miniatures (FDM)
These are commonly used settings in miniature production workflows:
-
Layer height: 0.08–0.16 mm
-
Nozzle size: 0.2 mm or 0.4 mm
-
Print speed: slower for better detail
-
Infill: 10–20% for small pieces
-
Cooling: High for sharp details
Lower layer height improves surface finish but increases print time.
5. Design Tips for Better Miniature Prints
1️⃣ Avoid Ultra-Thin Walls
Minimum recommended wall thickness (FDM): 1–1.2 mm
2️⃣ Add Chamfers & Fillets
Hard 90° corners often print less cleanly.
3️⃣ Orient Smartly
Surface quality depends heavily on print orientation.
4️⃣ Separate Tiny Parts
Small decorative elements print cleaner as separate components.
6. Post-Processing for Professional Results
After printing:
-
Sand lightly (400–800 grit)
-
Use primer before painting
-
Apply acrylic paint for details
-
Use matte sealant for realism
For resin prints:
-
Wash in IPA
-
Cure under UV light
-
Sand gently if needed
Miniature finishing is often what separates hobby-level results from professional-looking models.
7. Common Mistakes Beginners Make
-
Printing too fast
-
Using thick layer height
-
Ignoring scale consistency
-
Designing parts too thin
-
Over-supporting delicate parts
Miniature printing requires patience and iteration.
8. How 3D Printing Supports Miniature Businesses
For small creative brands, 3D printing allows:
-
Rapid prototyping
-
Small batch production
-
Customization options
-
Low inventory risk
At Infinite Builds, 3D printing helps us design, test, and refine models before launching them as DIY kits or finished miniatures.
9. Final Thoughts
3D printing miniatures combines engineering precision with artistic creativity. The key factors that influence quality are:
-
Correct scale conversion
-
Appropriate printer type
-
Fine-tuned settings
-
Careful post-processing
With proper technique, 3D printing opens endless possibilities for miniature creators.


